Excited to post your new blog? We know the feeling 🙂 But something is not right. The blog photos are in there, your post is SEO friendly and your discussion is well-researched. So, what’s missing?
Yes, that big black space underneath the title that is sometimes too difficult to find. We got you. Here’s our step-by-step guide on how to add banner in your WordPress blog. Photos and screenshots are included too, you may thank us later 🙂

STEP 1: Set your featured image
This will be the image that WordPress will use as a preview photo on this specific blog. And ideally, this is also the photo that you should use as your banner to create consistency in your site.

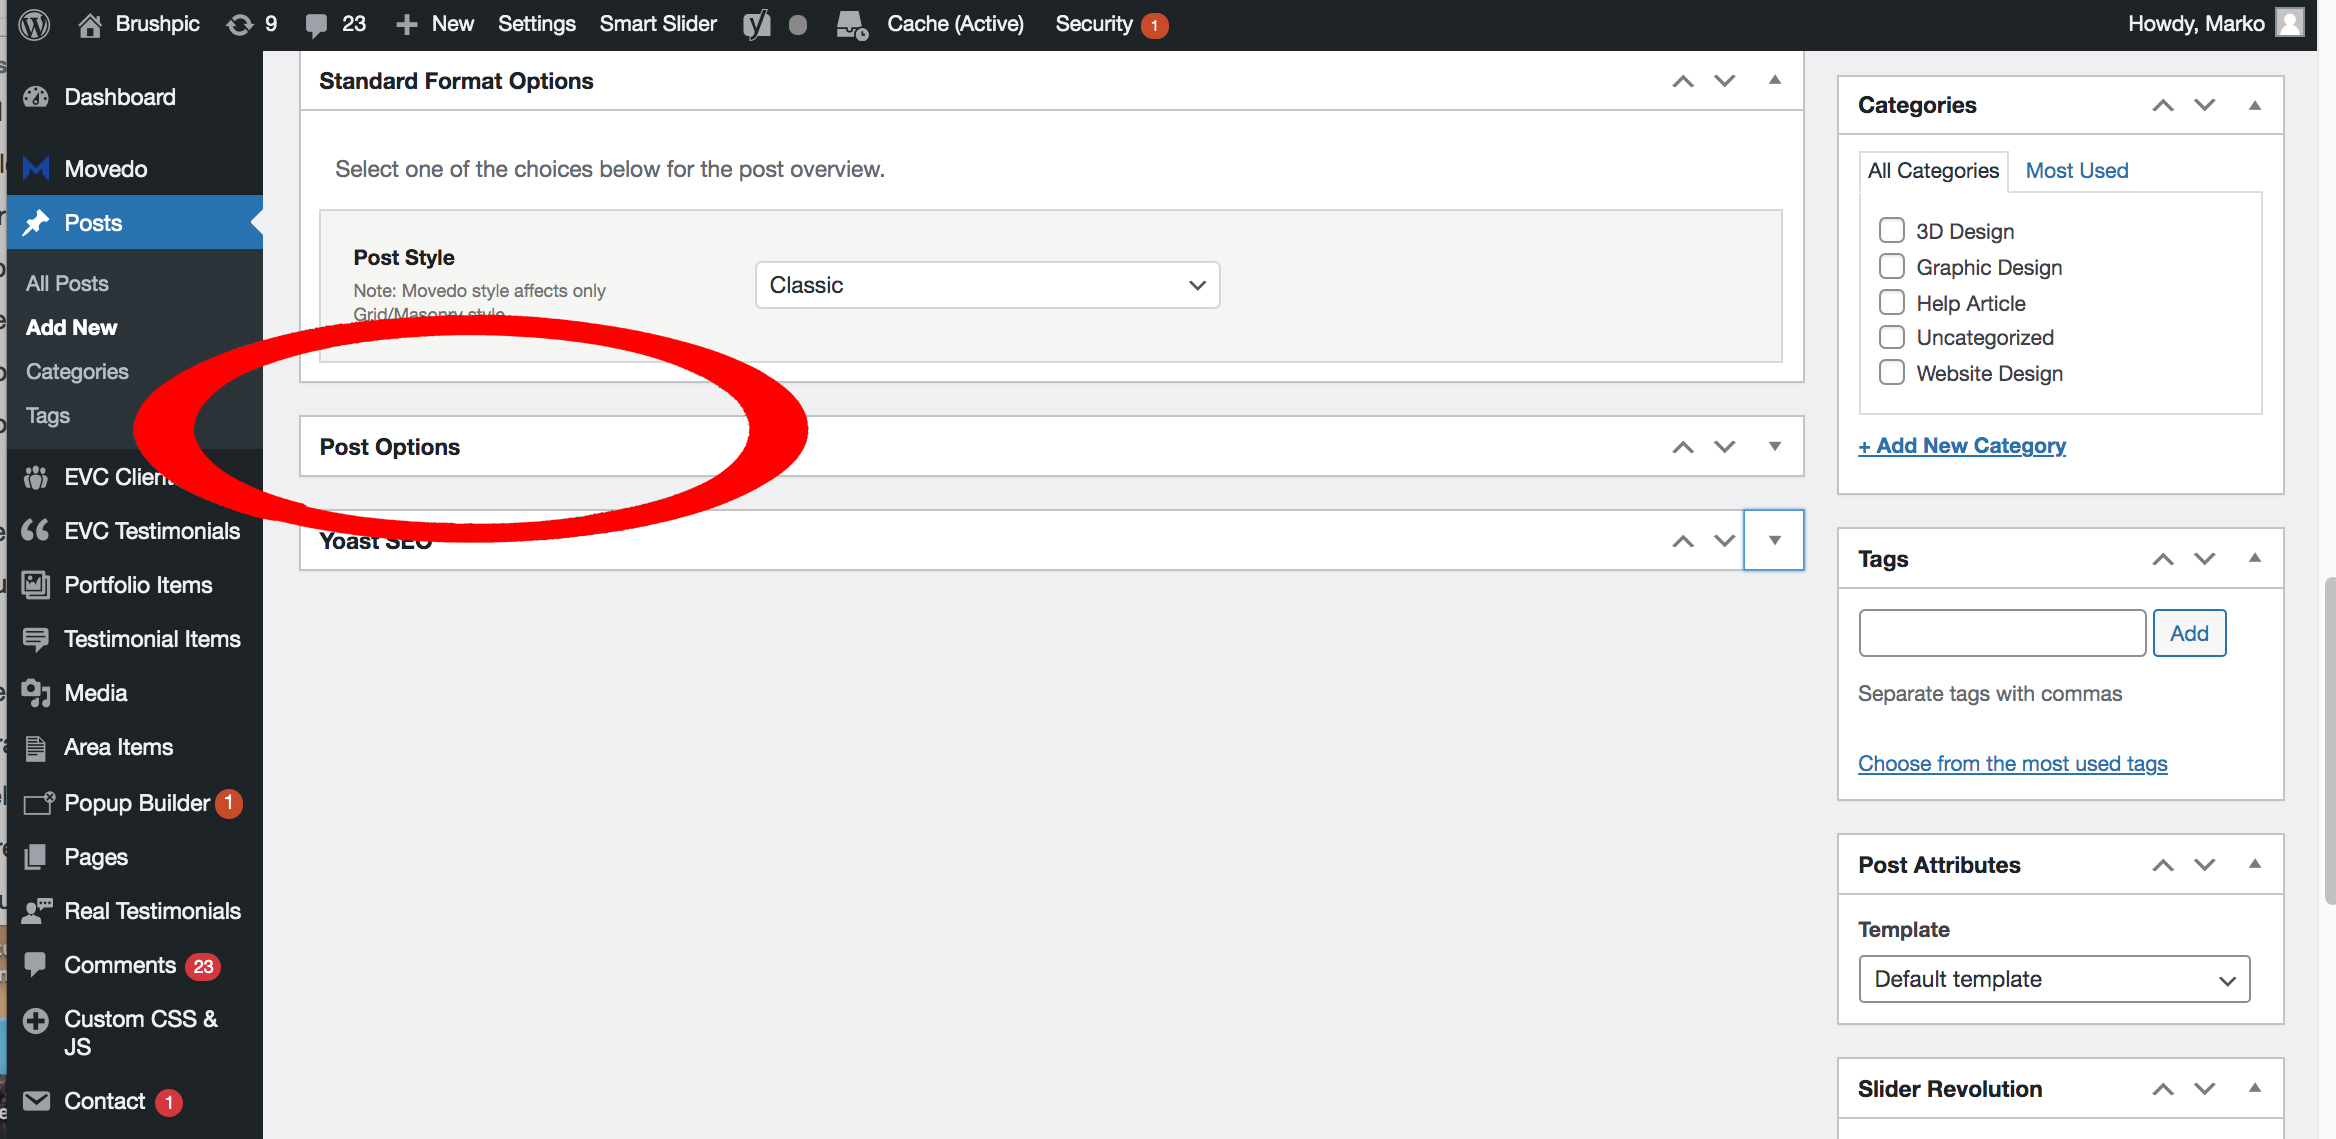
STEP 2: Look for Post Options
Scroll down in the WordPress window and look for Post Options. It may be expanded or minimized like how it looks here.

STEP 3: Click Title / Description
Once the the Post Options area expands, there will be a navigation area on the left side of the screen that will appear. Look for the Title / Description tab.

STEP 4: Click Featured Image
Scroll down and look for Background. Since we already have a Featured Image, we can now choose this option as our banner

STEP 5: Preview
Always preview your work before publishing. You may also adjust the overlay to make sure that your title can be easily read. In this case, I adjusted the overlay to about 30%, but let’s save that topic for the next vlog 🙂
Your blog should look like this after. Once you’re ok with everything, just click publish.
_____________________
Woocommerce
In some cases, you may need to update woocommerce product category banners. Please follow the instructions below:
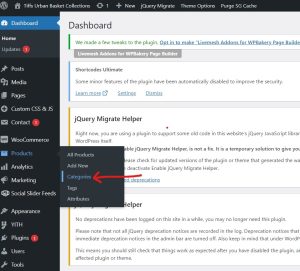
STEP 1: Click on Products -> Categories

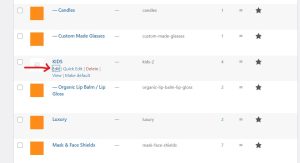
Step 2: On the categories page, mouse hover on the category on which you want to update/add the banner image or video. Click on Edit

Step 3: To have an image as a banner on the product category, Upload an image by clicking the upload/add image button next to “Thumbnail” option.
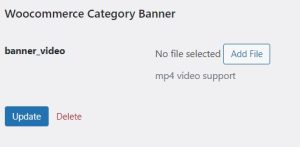
To upload a video remove the image from the thumbnail in case you have already uploaded an image earlier, and then click on “Add video” button under banner_video option


Step 4: Click on update button. That’s it. Your product category should have a banner image/video now visible on the website.
We know. This is too much of a hassle to do every single time you’ll be posting. Add the fact that you have to type in every single word in your blog and add relatively interesting photos as well makes this task annoying.
Let us do it for you. We do not only build beautiful websites, but also manage them perfectly! Let’s talk, tell us all your problems, and we’ll solve it for you 🙂
https://calendly.com/ohenewa-71/15min?month=2022-03

