Help Article – BrushPic

Help Article

How to Create A Blog Post in WordPress (With Photos)

How to Create A Blog Post in WordPress (With Photos) 2560 1706 Michael Okai

If you haven’t already known the importance of continuously creating blog posts in your site, then you are in for a surprise! Blogs are some of the most underrated features of a site that you can utilize. They improve your site’s SEO that will then help you rank in searches. This can get you new eyeballs leading to purchases.


Strong blogs are well researched, easy to understand and use appropriate photos. We can give you more tips, but that’s for another time â˜ș


WordPress can be intimidating the first time you look at it, but once you get the hang of it, it’s easy to make things work. We are here to guide you on how you can create blog posts on your site â˜ș

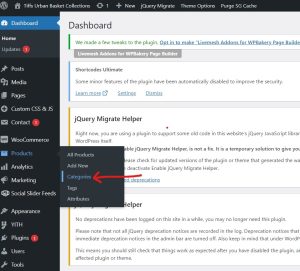
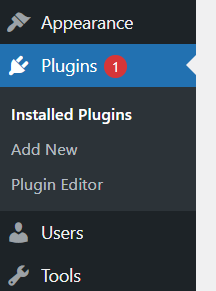
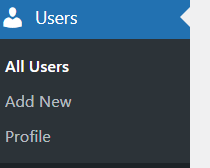
STEP 1: Add New Post

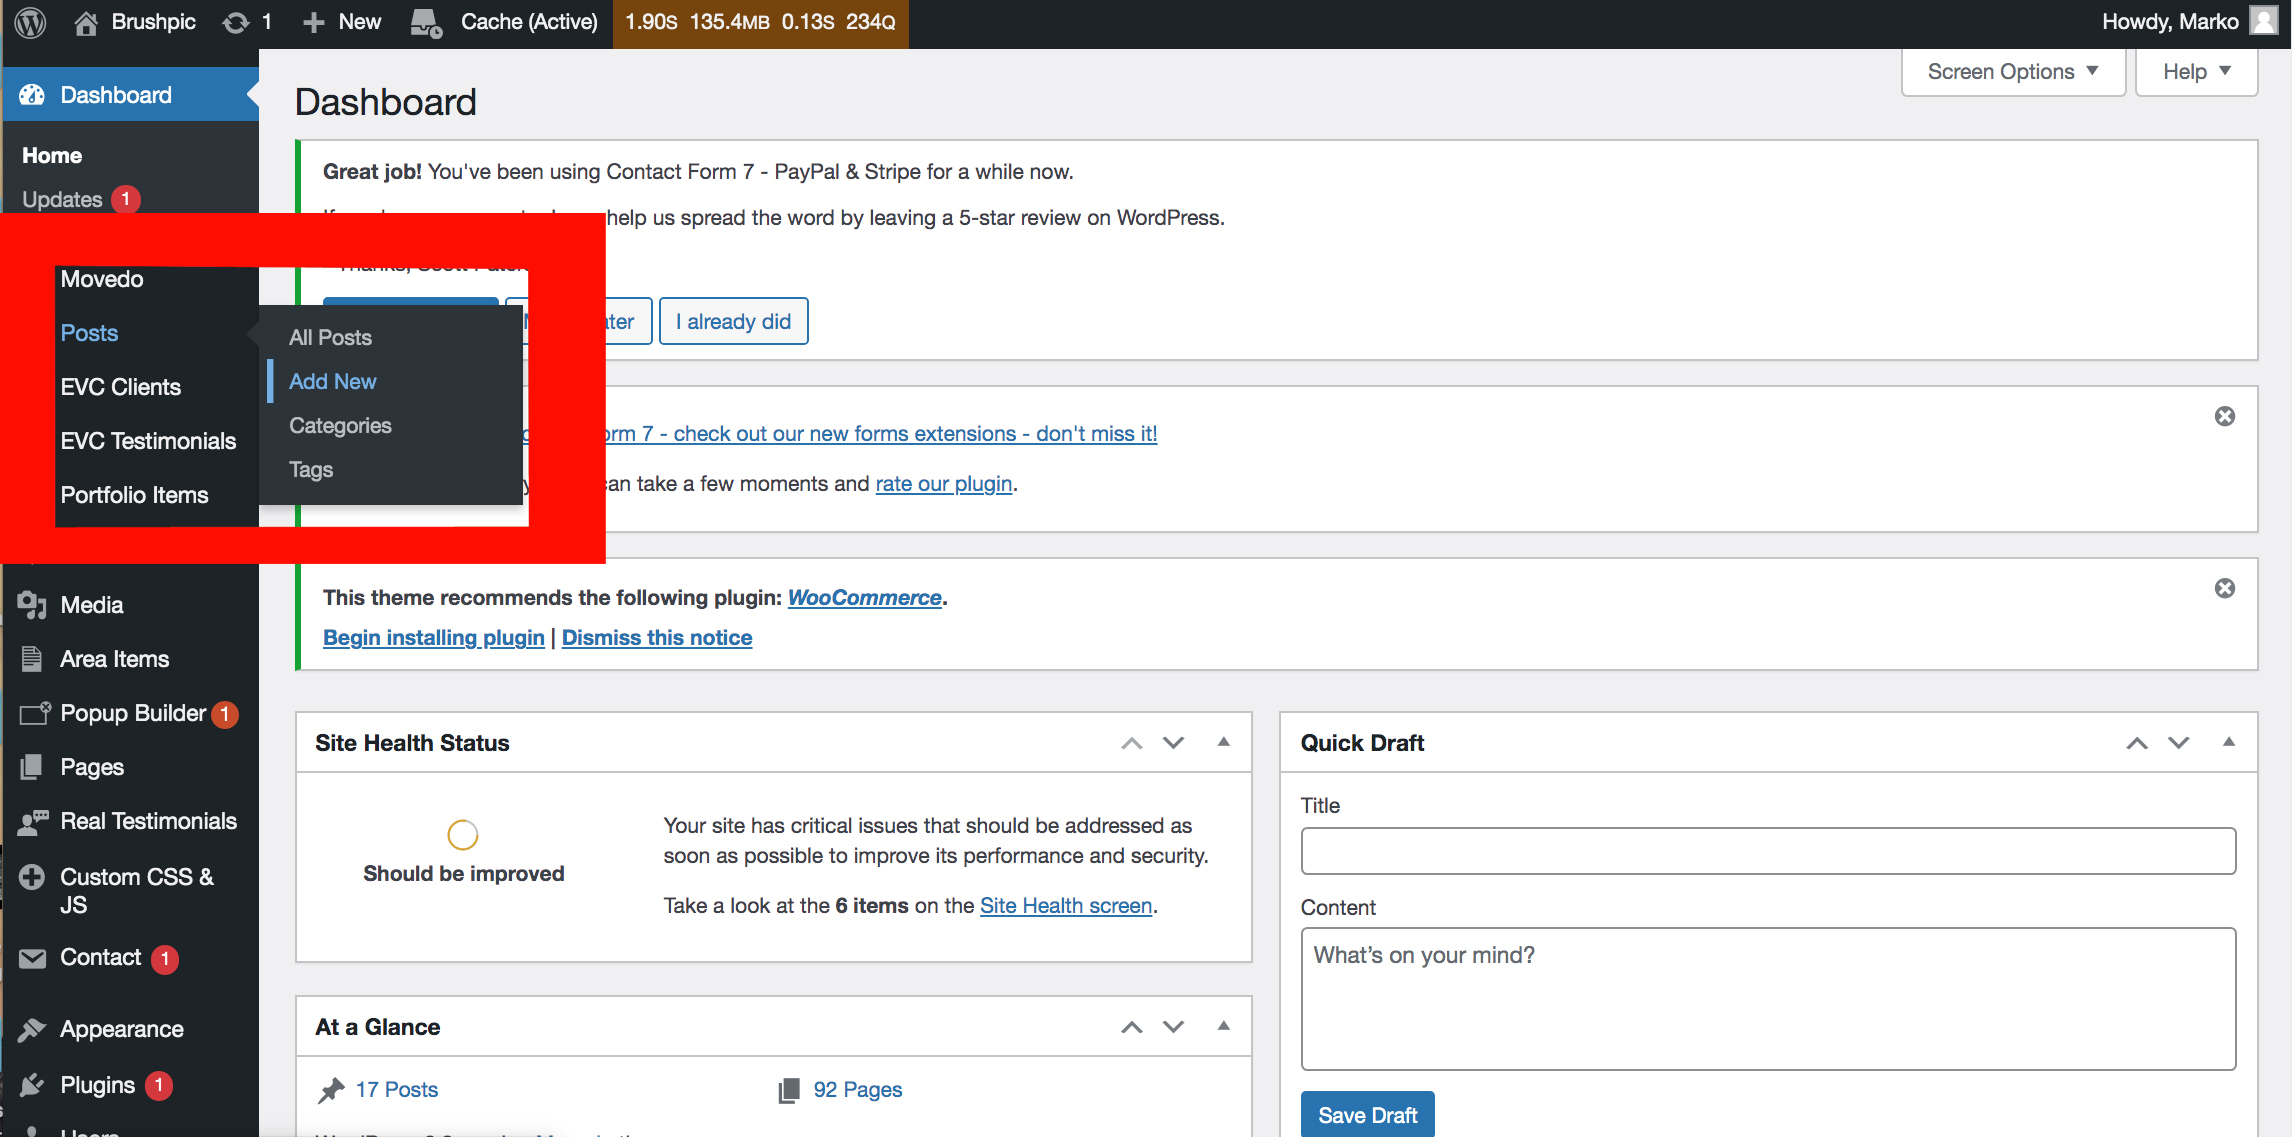
After logging into WordPress, you will land on your dashboard, which looks like this. Hover on Posts on the left menu and click Add New.


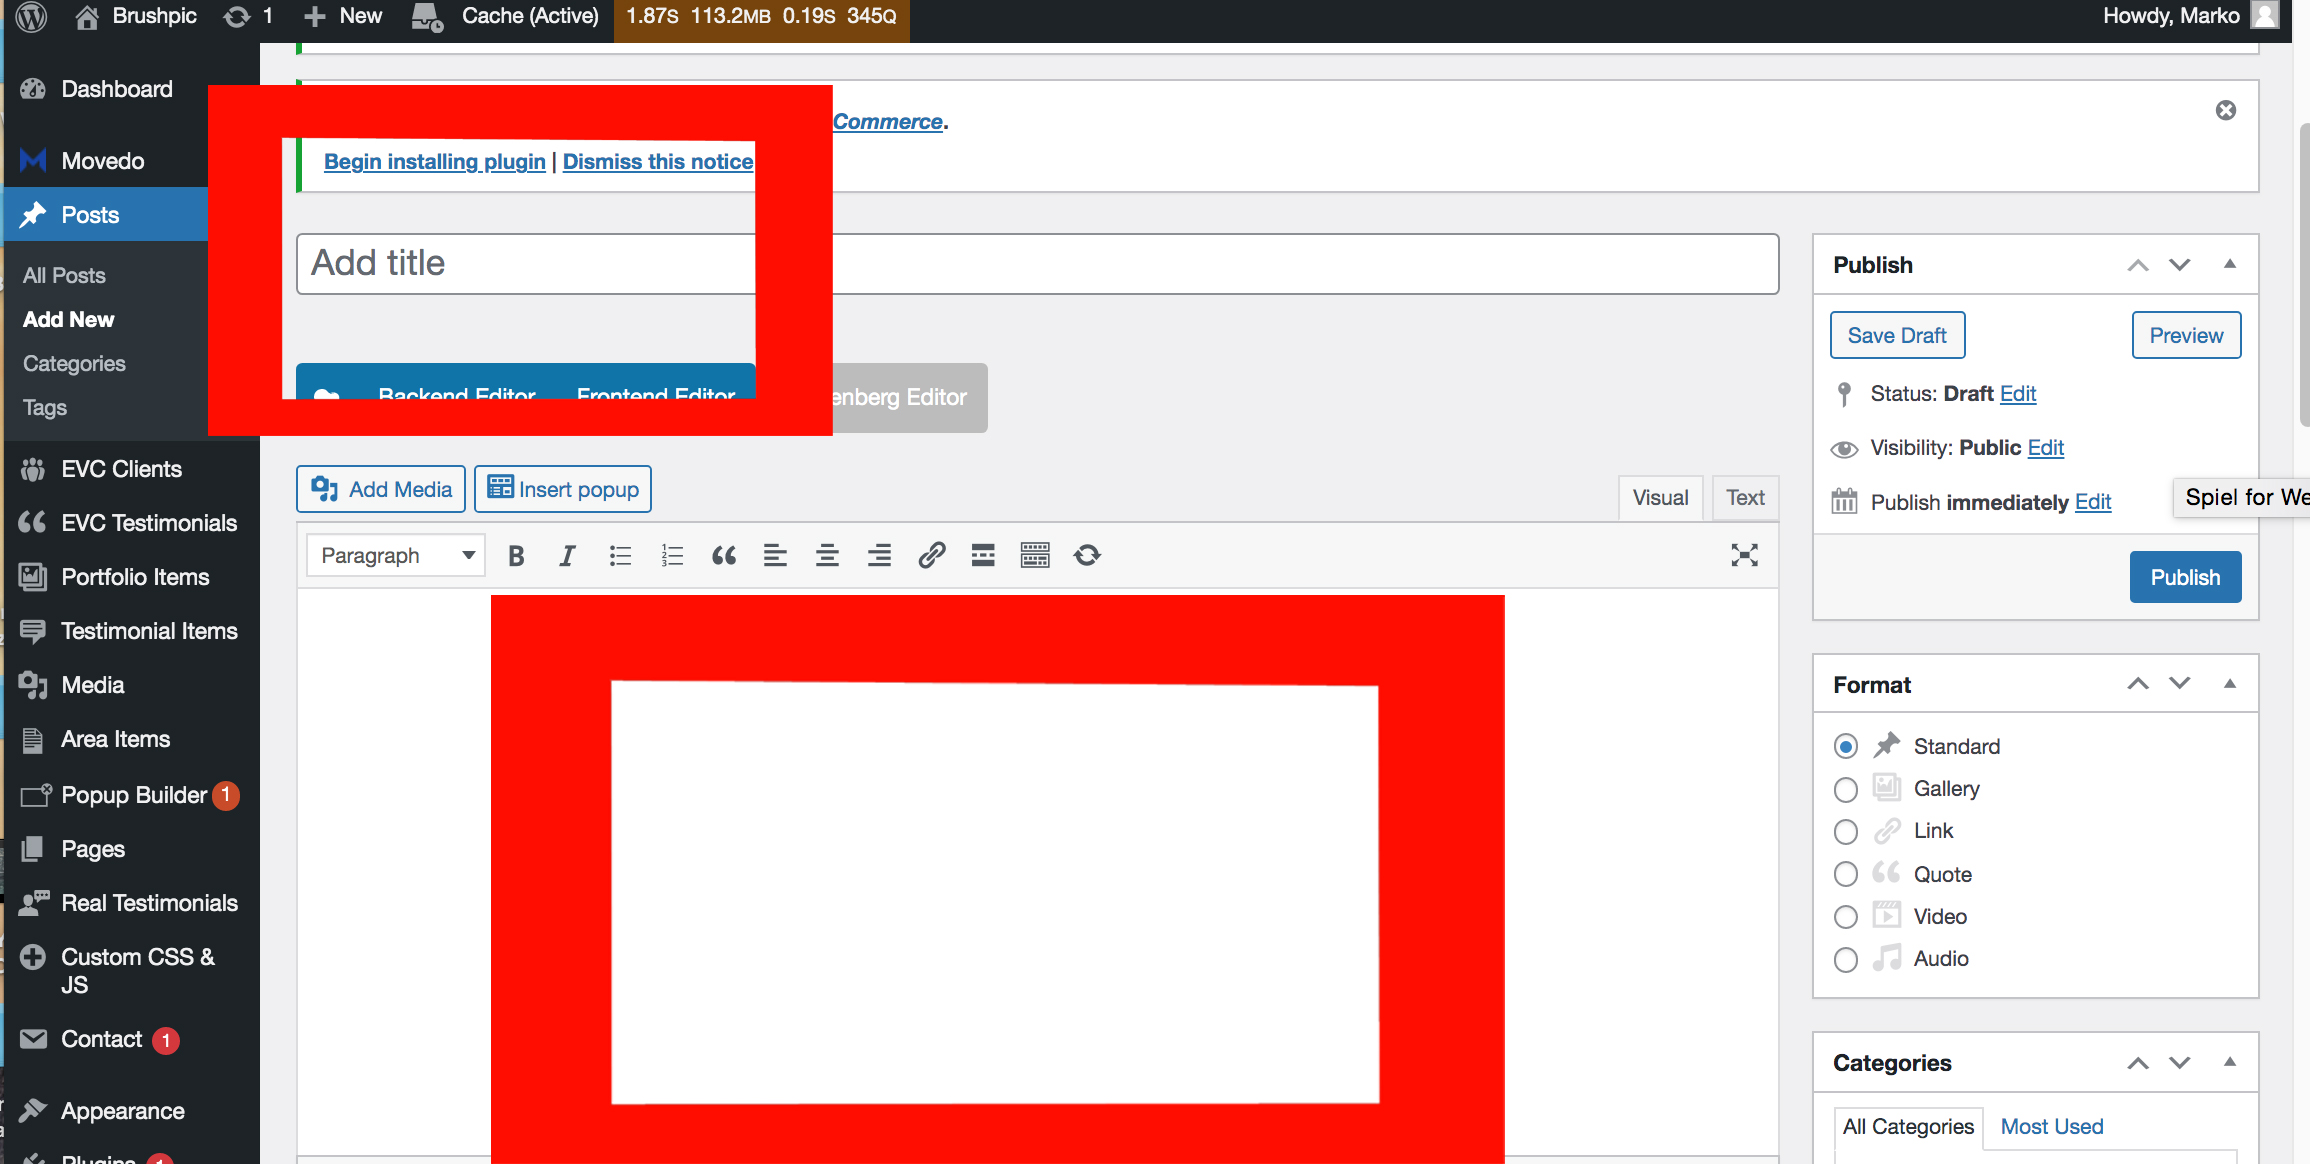
STEP 2: Adding Title and Writing Content

You can add your title in the first bar and you may start writing your content in the succeeding space.


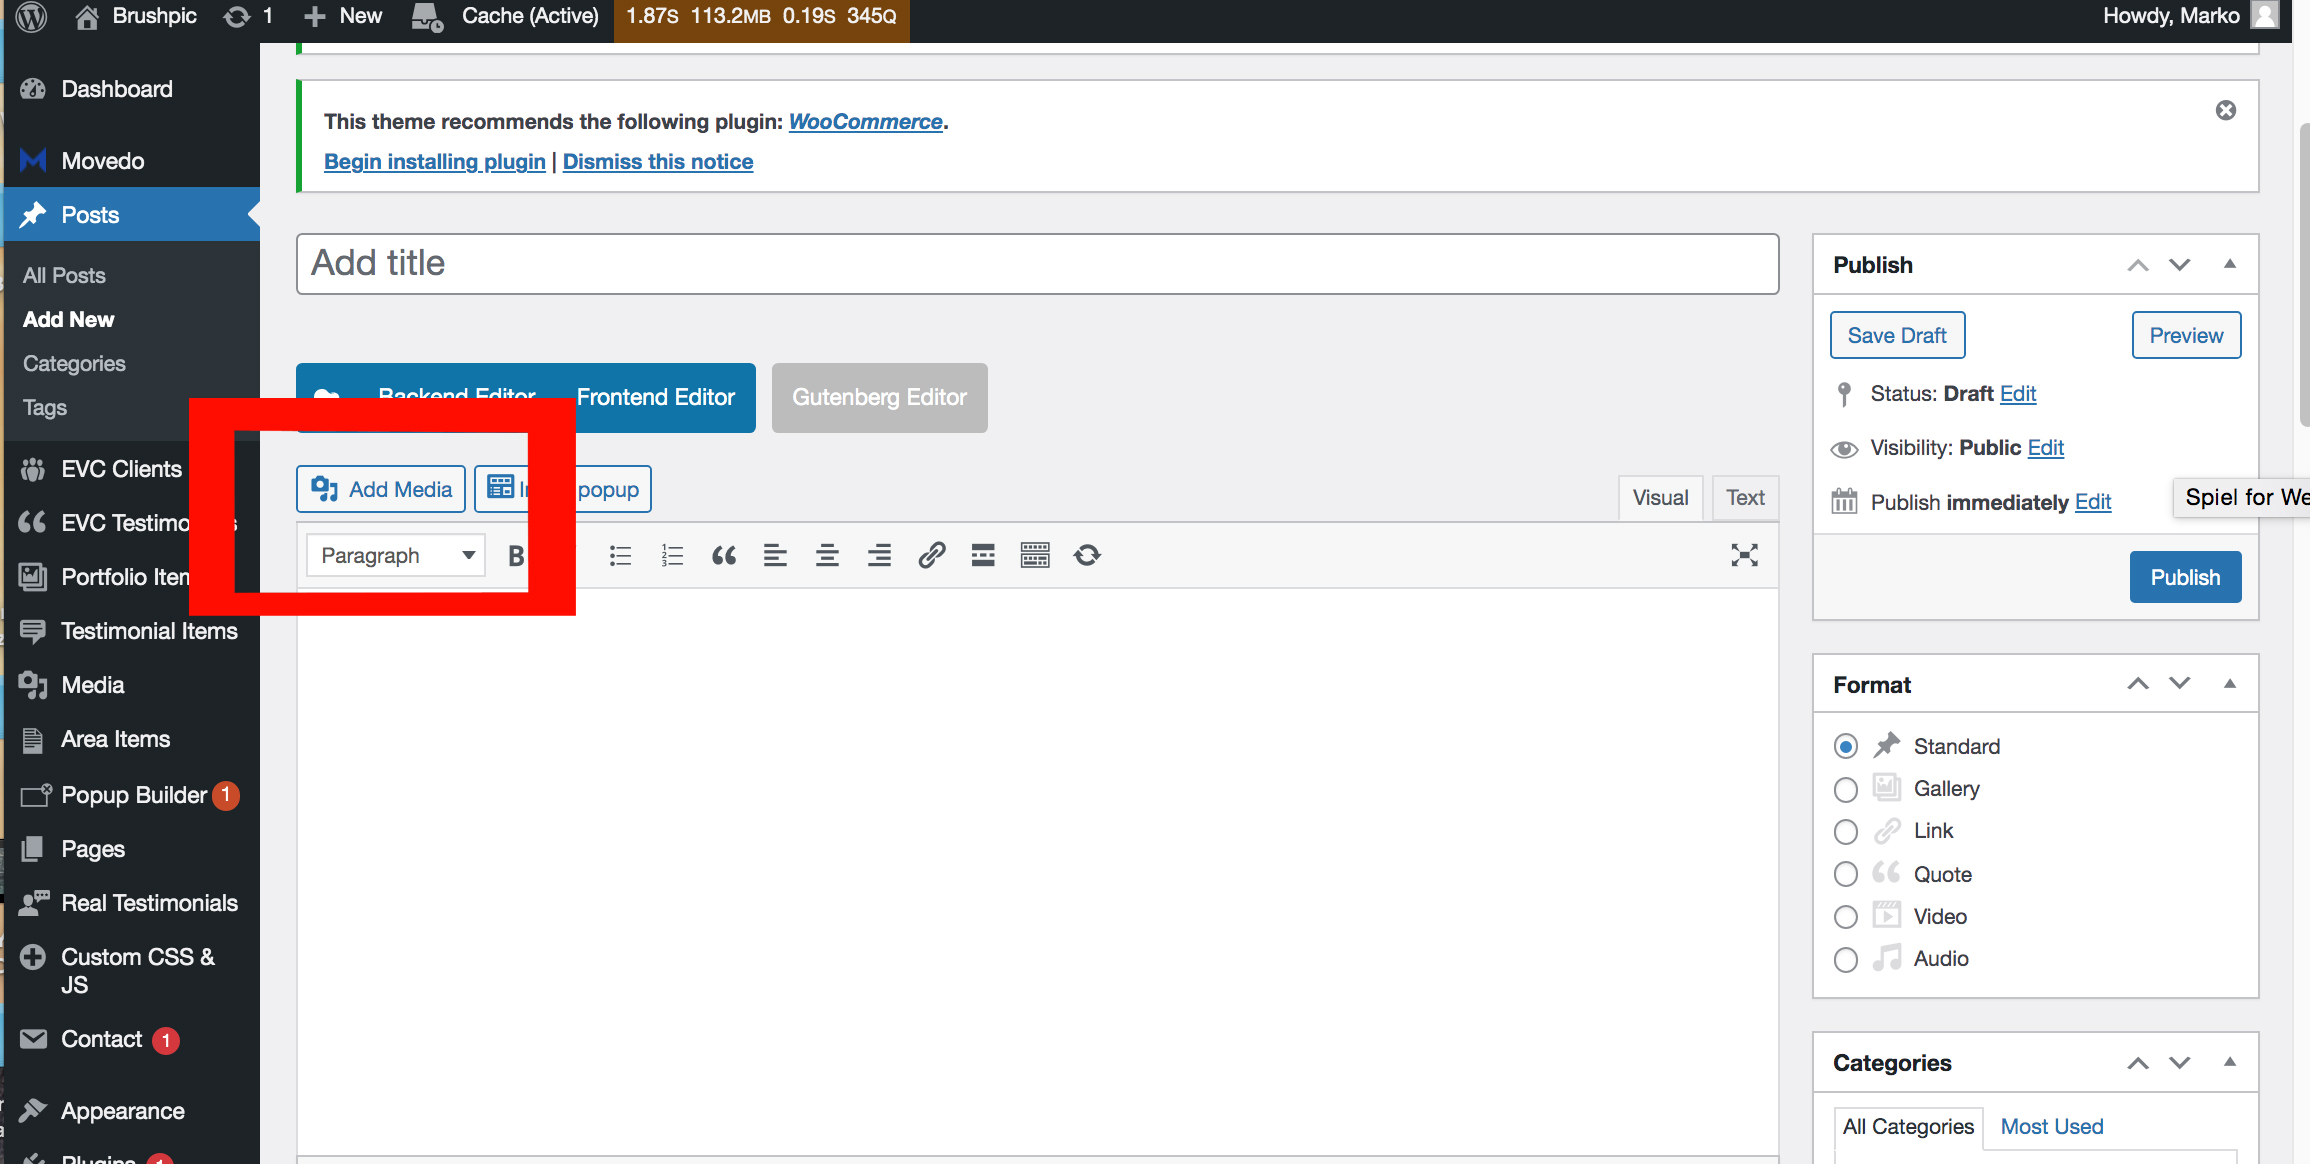
STEP 3: Adding Photos to your Blog

Blogs are not complete without enticing photos! What you can do is click Add Media.


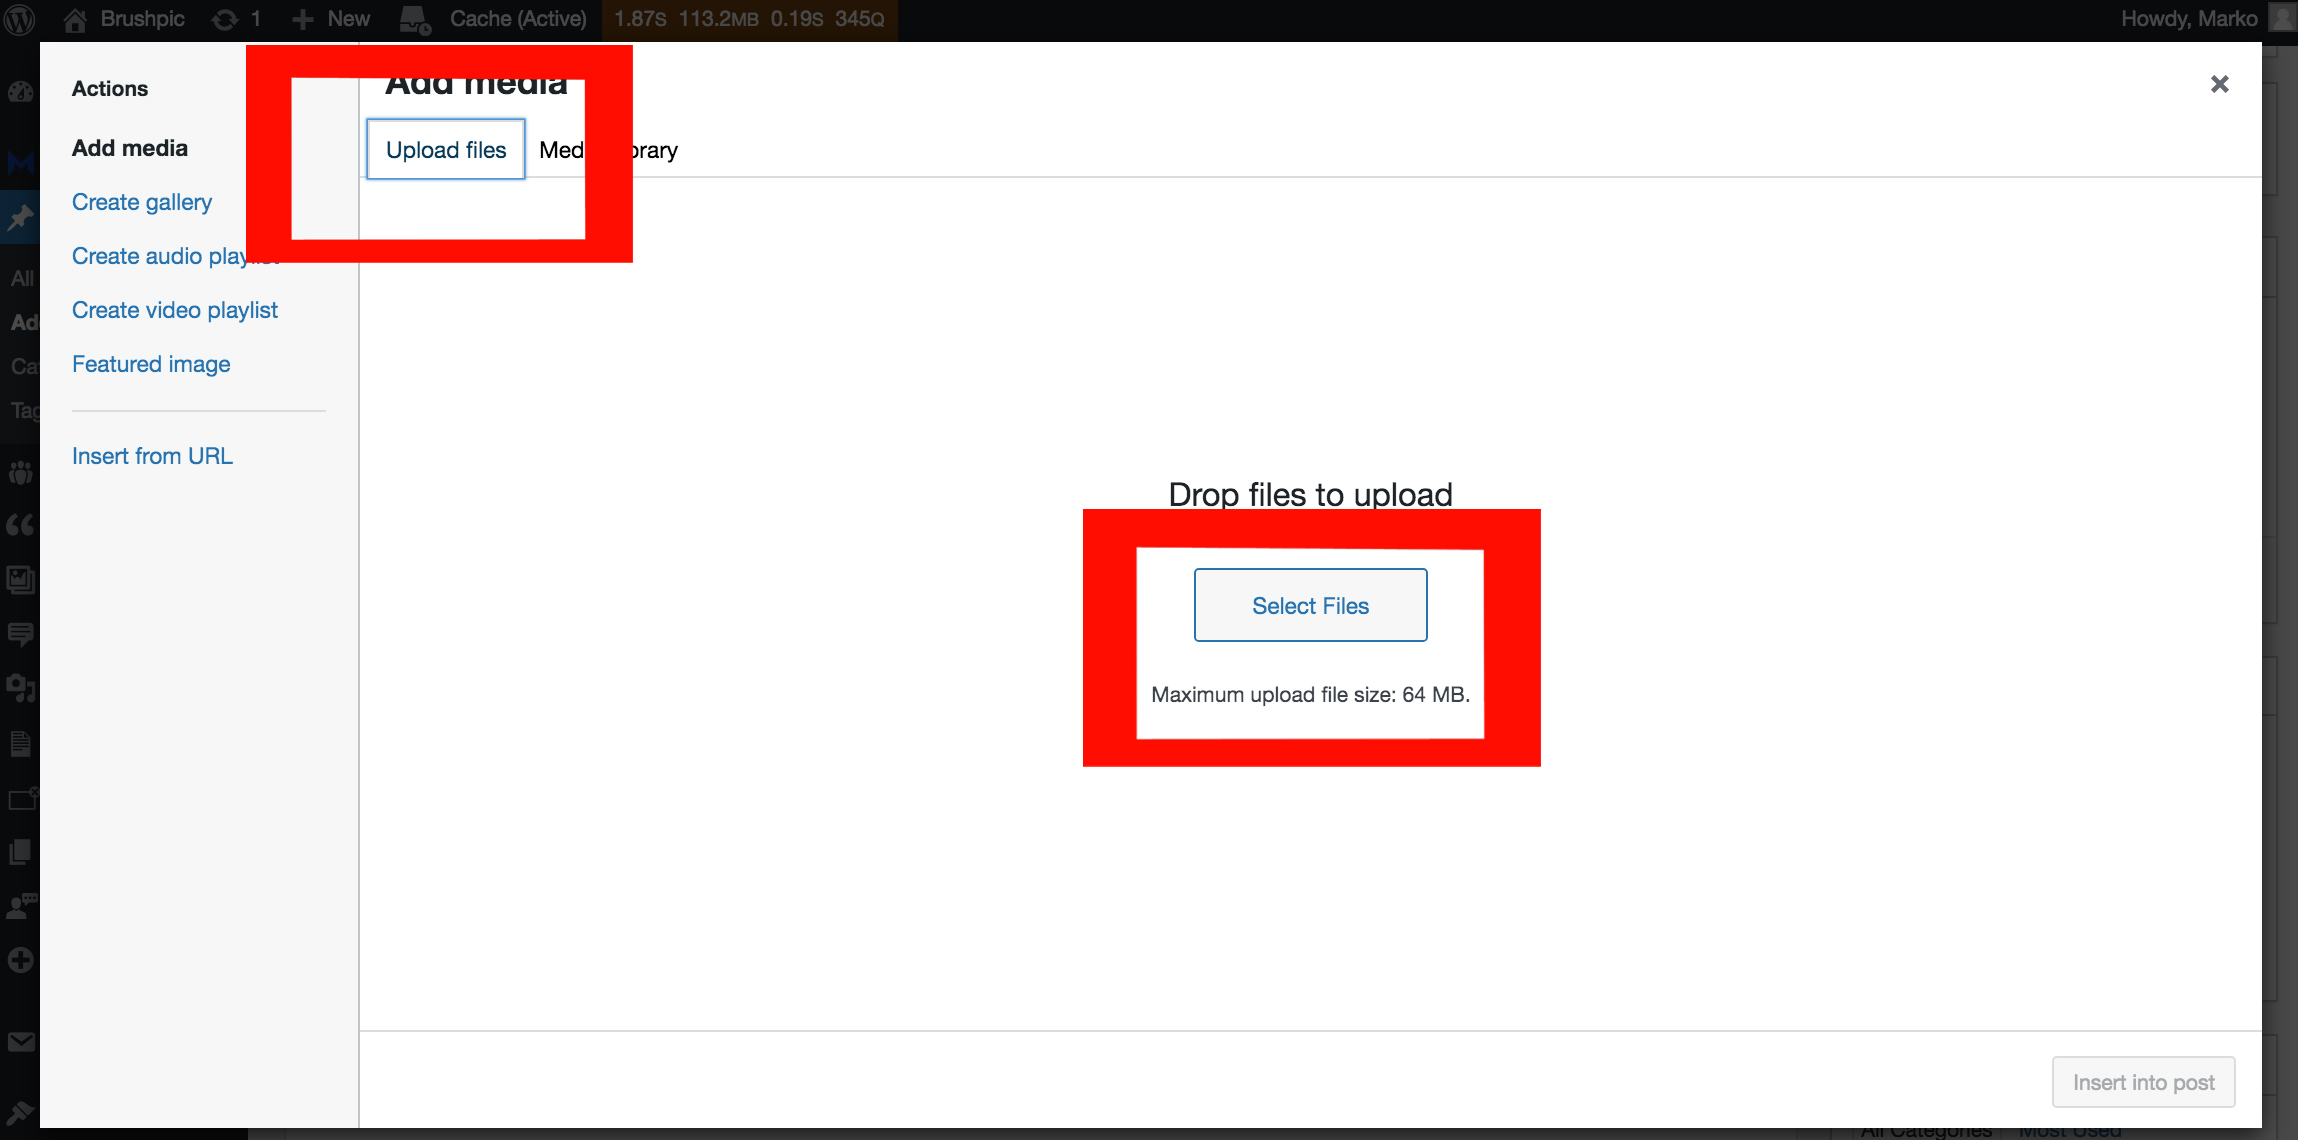
You can choose to upload your own photos by clicking the Upload Files tab, then Select Files. Keep in mind that the limit for each photo is only at 64 MB.


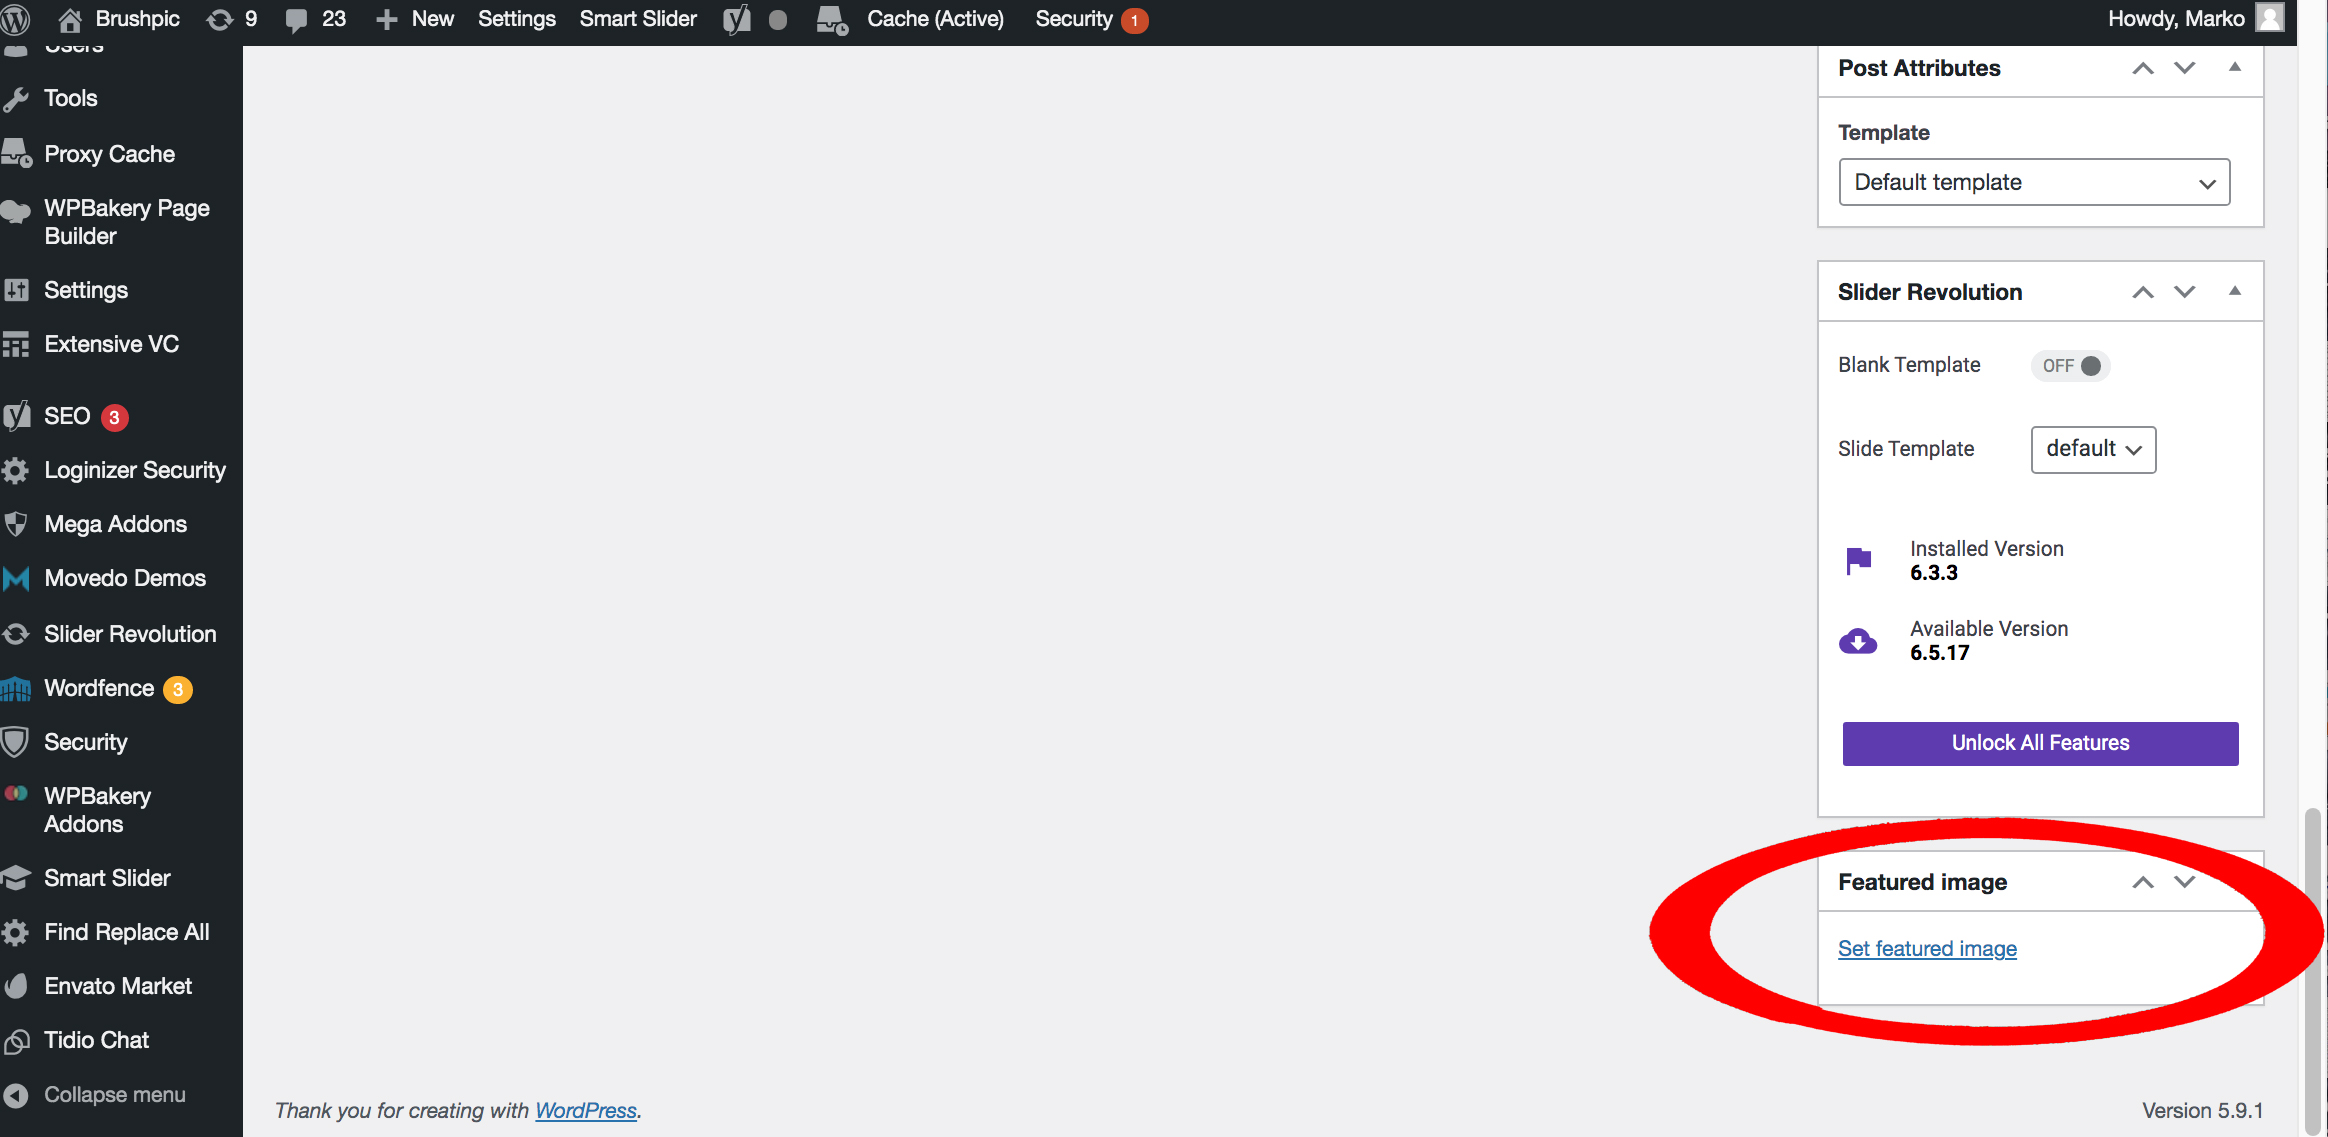
STEP 4: Adding Featured Image

Featured Images are the ones that appear on your Blog List as more or less the intro on what your blog is about (aside from the title)

Just scroll down on the page and look for Set Featured Image on the right.


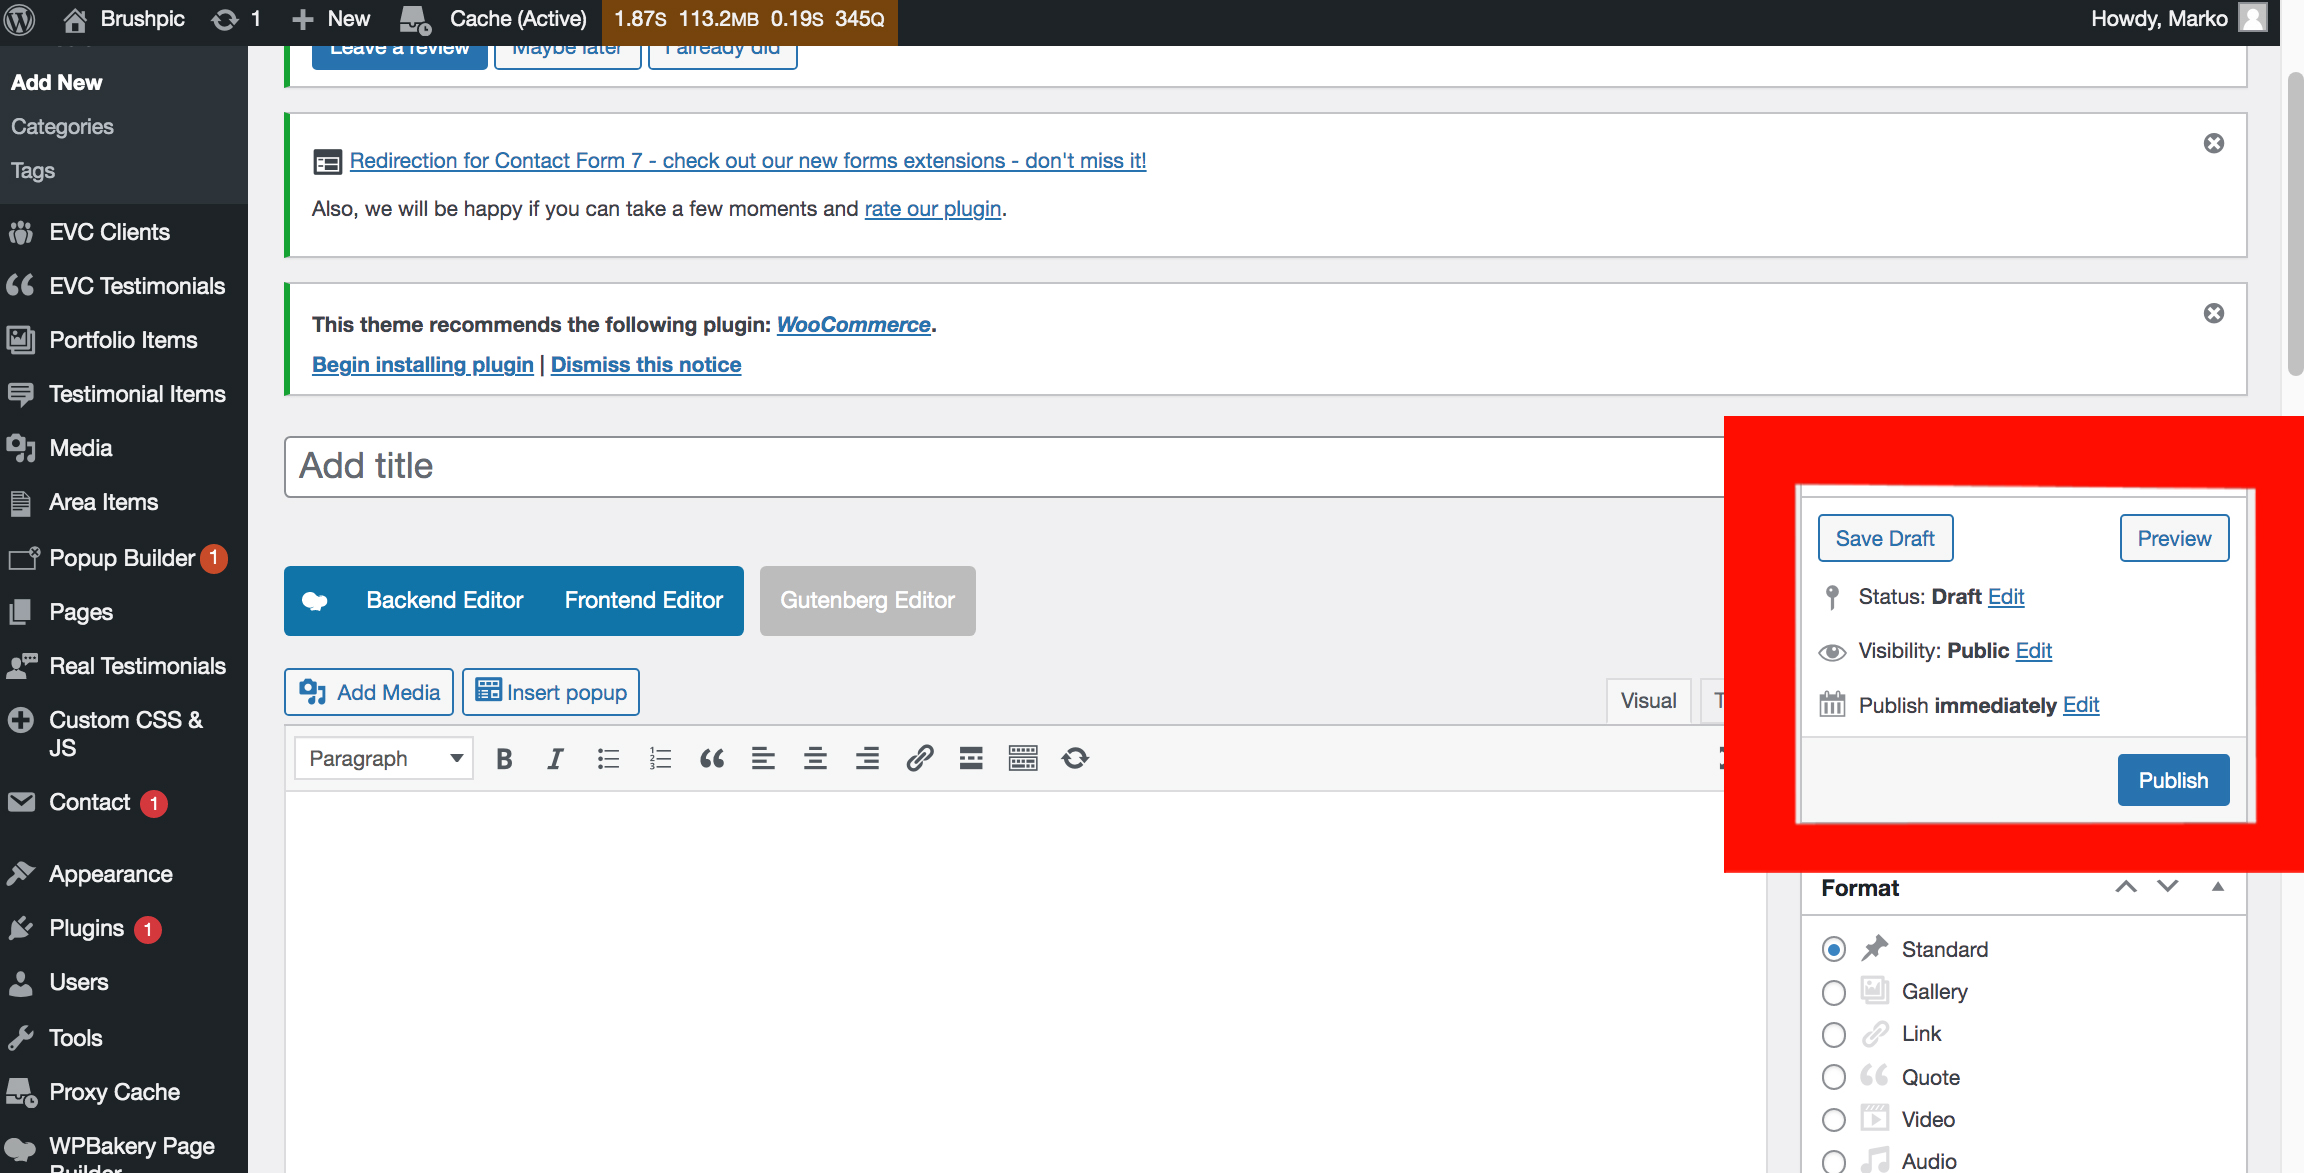
STEP 5: Save Draft, Preview and Publish

Save Draft: If you don’t want to publish your blog yet or you’ll get back to it another time, just click Save Draft.

Preview: If you want to see how your blog will look, just click the Preview button and a new window will open.

Publish: When you’re ready for the blog to be seen by the world, just click Publish â˜ș


And that’s it! We hope that this guide makes it easier for you to post your blogs. You may also look at our other guides here to make your experience easier!

For more questions and inquiries, you may also schedule a call with us here:

https://calendly.com/ohenewa-71/15min?month=2022-06

How to Add Banner in a WordPress Blog

How to Add Banner in a WordPress Blog 2560 1707 Michael Okai

Excited to post your new blog? We know the feeling 🙂 But something is not right. The blog photos are in there, your post is SEO friendly and your discussion is well-researched. So, what’s missing?

Yes, that big black space underneath the title that is sometimes too difficult to find. We got you. Here’s our step-by-step guide on how to add banner in your WordPress blog. Photos and screenshots are included too, you may thank us later 🙂


STEP 1: Set your featured image

This will be the image that WordPress will use as a preview photo on this specific blog. And ideally, this is also the photo that you should use as your banner to create consistency in your site.


STEP 2: Look for Post Options

Scroll down in the WordPress window and look for Post Options. It may be expanded or minimized like how it looks here.


STEP 3: Click Title / Description

Once the the Post Options area expands, there will be a navigation area on the left side of the screen that will appear. Look for the Title / Description tab.


STEP 4: Click Featured Image

Scroll down and look for Background. Since we already have a Featured Image, we can now choose this option as our banner


STEP 5: Preview

Always preview your work before publishing. You may also adjust the overlay to make sure that your title can be easily read. In this case, I adjusted the overlay to about 30%, but let’s save that topic for the next vlog 🙂

Your blog should look like this after. Once you’re ok with everything, just click publish.

_____________________

Woocommerce

In some cases, you may need to update woocommerce product category banners. Please follow the instructions below:

STEP 1: Click on Products -> Categories

Step 2: On the categories page, mouse hover on the category on which you want to update/add the banner image or video. Click on Edit

Step 3: To have an image as a banner on the product category, Upload an image by clicking the upload/add image button next to “Thumbnail” option.
To upload a video remove the image from the thumbnail in case you have already uploaded an image earlier, and then click on “Add video” button under banner_video option


Step 4: Click on update button. That’s it. Your product category should have a banner image/video now visible on the website.


We know. This is too much of a hassle to do every single time you’ll be posting. Add the fact that you have to type in every single word in your blog and add relatively interesting photos as well makes this task annoying.

Let us do it for you. We do not only build beautiful websites, but also manage them perfectly! Let’s talk, tell us all your problems, and we’ll solve it for you 🙂

https://calendly.com/ohenewa-71/15min?month=2022-03


How do I update wordpress?

How do I update wordpress? 550 400 Michael Okai

WARNING: The upgrade process will affect all files and folders included in the main WordPress installation. This includes all the core files used to run WordPress. If you have made any modifications to those files, your changes will be lost.

You should always update WordPress to the latest version. When a new version of WordPress is available you will receive an update message in your WordPress Admin Screens. To update WordPress, click the link in this message.

There are two methods for updating – the easiest is the one-click update, which will work for most people. If it doesn’t work, or you just prefer to be more hands-on, you can follow the manual update process.

If you are updating across multiple versions, follow the procedure at Upgrading WordPress – Extended Instructions

Back up WordPress

Before you get started, it’s a good idea to back up your website. This means if there are any issues you can restore your website. Complete instructions to make a backup can be found in the WordPress Backup.

Automatic Background Updates

For WordPress 3.7+, you don’t have to lift a finger to apply minor and security updates. Most sites are now able to automatically apply these updates in the background. If your site is capable of one-click updates without entering FTP credentials, then your site should be able to update from 3.7 to 3.7.1, 3.7.2, etc. (You’ll still need to click “Update Now” for major feature releases.)

One-click Update

WordPress lets you update with the click of a button.  You can launch the update by clicking the link in the new version banner (if it’s there) or by going to the Dashboard > Updates screen. Once you are on the “Update WordPress” page, click the button “Update Now” to start the process off. You shouldn’t need to do anything else and, once it’s finished, you will be up-to-date.

One-click updates work on most servers. If you have any problems, it is probably related to permissions issues on the filesystem.

Reference: https://wordpress.org/support/article/updating-wordpress/

Maintenance of the website: What the client needs to know?

Maintenance of the website: What the client needs to know? 1200 603 Michael Okai

Upgrade all plugins to their latest version to maintain stability

1 – Keep an eye on the plugins that are in use and keep all of the plugins (whichever possible) up-to-date by clicking the update button near the plugin IF it is showing there and if any update for the plugin is available. Refer to the screenshot below for example:

To do so:
Click on Plugins → Installed Plugins from menu on the left side

You should be seeing list of all plugins that are currently installed (Active + Inactive) on your WordPress website. Click on the update button of the plugins.

Note: Please beware that it is sometimes risky to manually update plugins without any professional Web Developer’s presence and if you don’t have an idea of what you are doing exactly. Because updates brings some improvements/changes to the existing feature/functionality/design to what the plugin was offering initially so there are chances that you might see your sight distorted or not loading correctly. If such issue persists, please reach out to any professional website developer and discuss the issue with him/her to resolve it properly.

Also, only the plugins which can be upgraded without having to buy their premium version will be updated, not all free versioned plugins provide automatic updates!


Keep your website safe and secured:

  • Do not share the admin panel credentials of your website with people you don’t trust
  • Make it a habit of changing the admin panel’s password once every week or in two weeks.
  • There are lots of plugins available in the market for free to help you keep your site secured to some extent from virus attacks and malwares, namely: Wordfence, Astra, Securi, All in one scanner etc.
    Install any one (Wordfence recommended) plugin from these and scan your site for viruses or malwares or any such potential issues at least twice a week
  • Remove any unneeded website extensions
  • Spam: Disable comments until and unless you want the people to be allowed to comment on your posts
    You can disable comments sitewide by going into Settings » Discussion from the left sidebar of your WordPress admin panel. On this page, you need to uncheck the option that says “Allow people to post comments on new articles” and then click on the Save Changes button to store your settings.

Refer screenshot below:

  • Remove any inactive website administrators
    – You can do that by going into Users → All users from the left navigation menu in the admin panel
    – Delete any user that you want to. Refer screenshot below


Website Backups

  • Backup the files using plugins such as BackUpBuddy or BackUpWPPro that make your website work!

  • Backup File/database
    Keep the latest stable version of the site’s backup in a safe, secured and reachable place like your google drive or dropbox so that whenever there is a need to restore the site back to its working state after a hack attack or virus issue or whenever site becomes unstable, it is easier to restore the site from those backup files


Functionality

Test any important functionality (i.e. working contact/signup forms, newsletter subscribe forms, etc.) to make sure everything is secure and working properly

Copyright © 2021 BrushPic. AlI Rights Reserved.